If backing your image make sure wax soaks through or it will be splotchy. Don’t worry you can still write on the back with ink. You can also still stamp the image.
Check the back of your magazine images as the back will show slightly. Lightly sand if desired.
If you don’t want the magazine back image to show at all just vellum and age the top piece and glue the two images together after both processes (however that kind of eliminates the magic reveal).
Don’t forget to use permanent ink or it will run when you apply the wax.
Use any paper for waxing but make sure it is semi transparent. Coffee dyed paper did not work.
Use the wax melting technique you prefer but I use an iron.
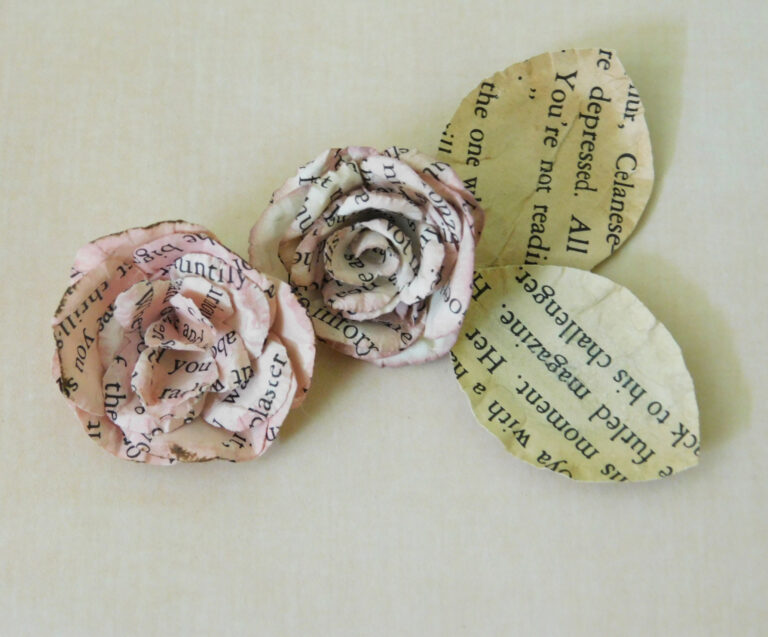
You can try book pages, music pages or any paper for a top sheet but make sure it is semi transparent.
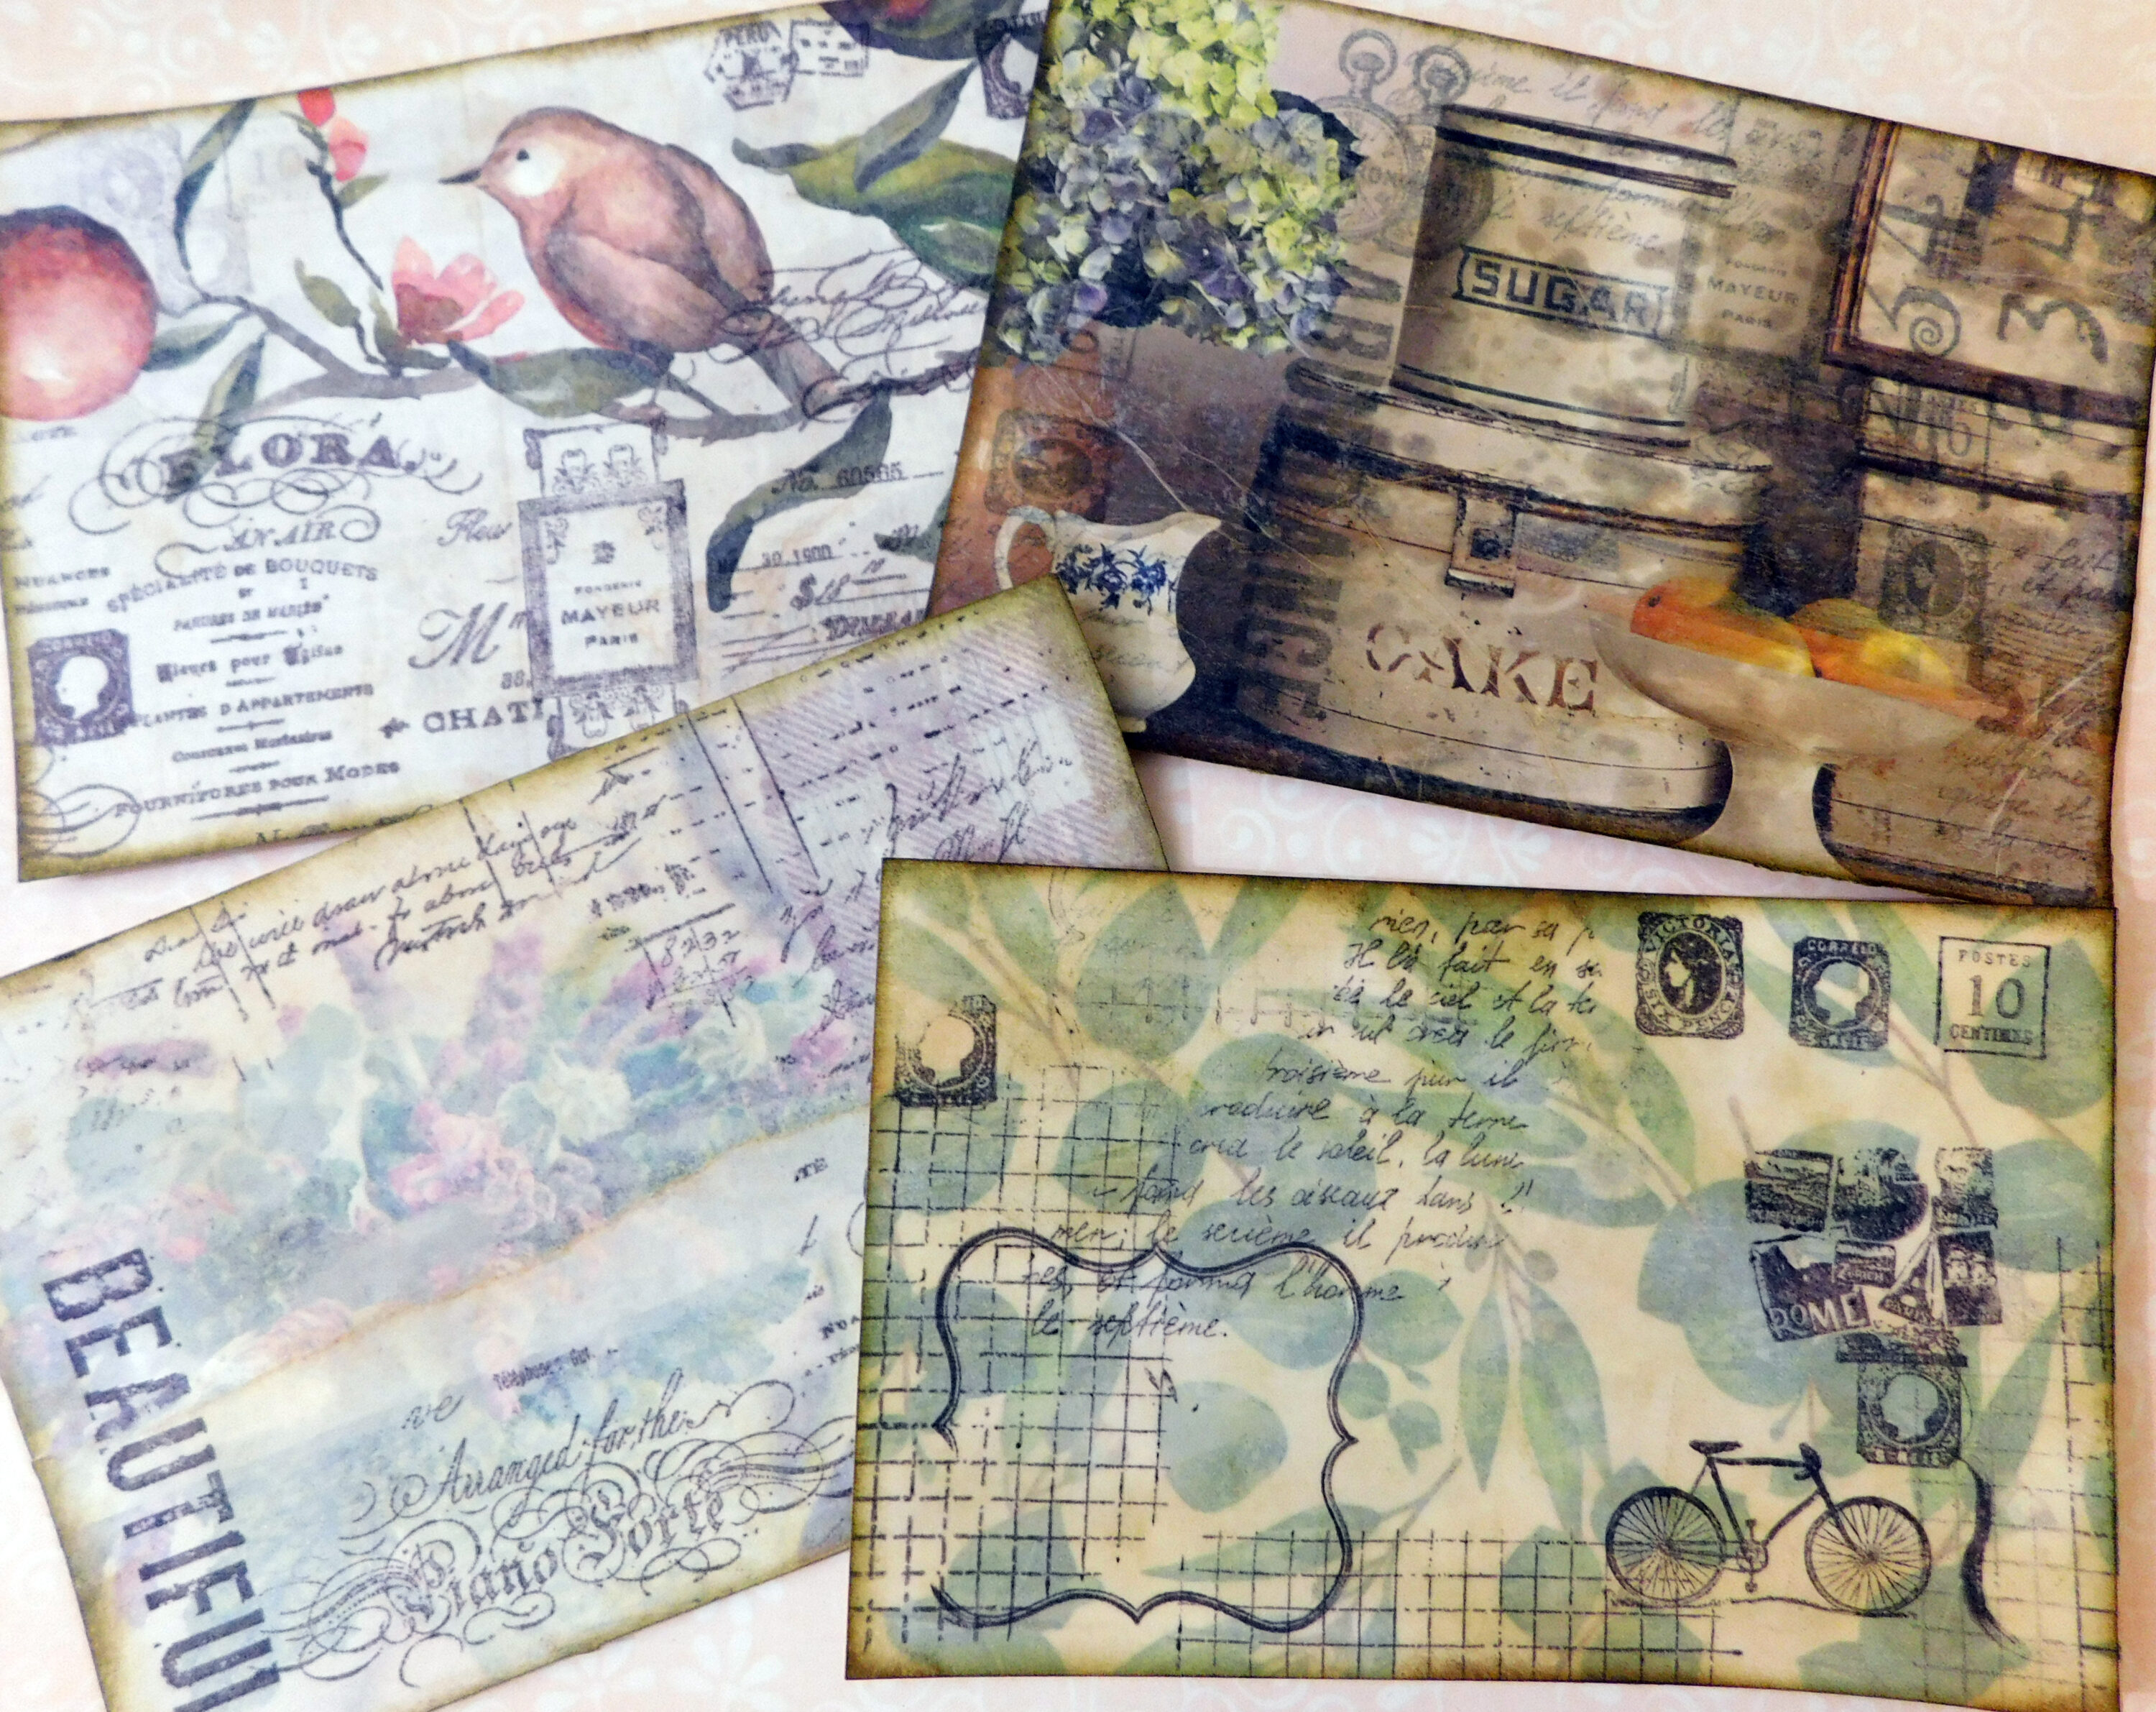
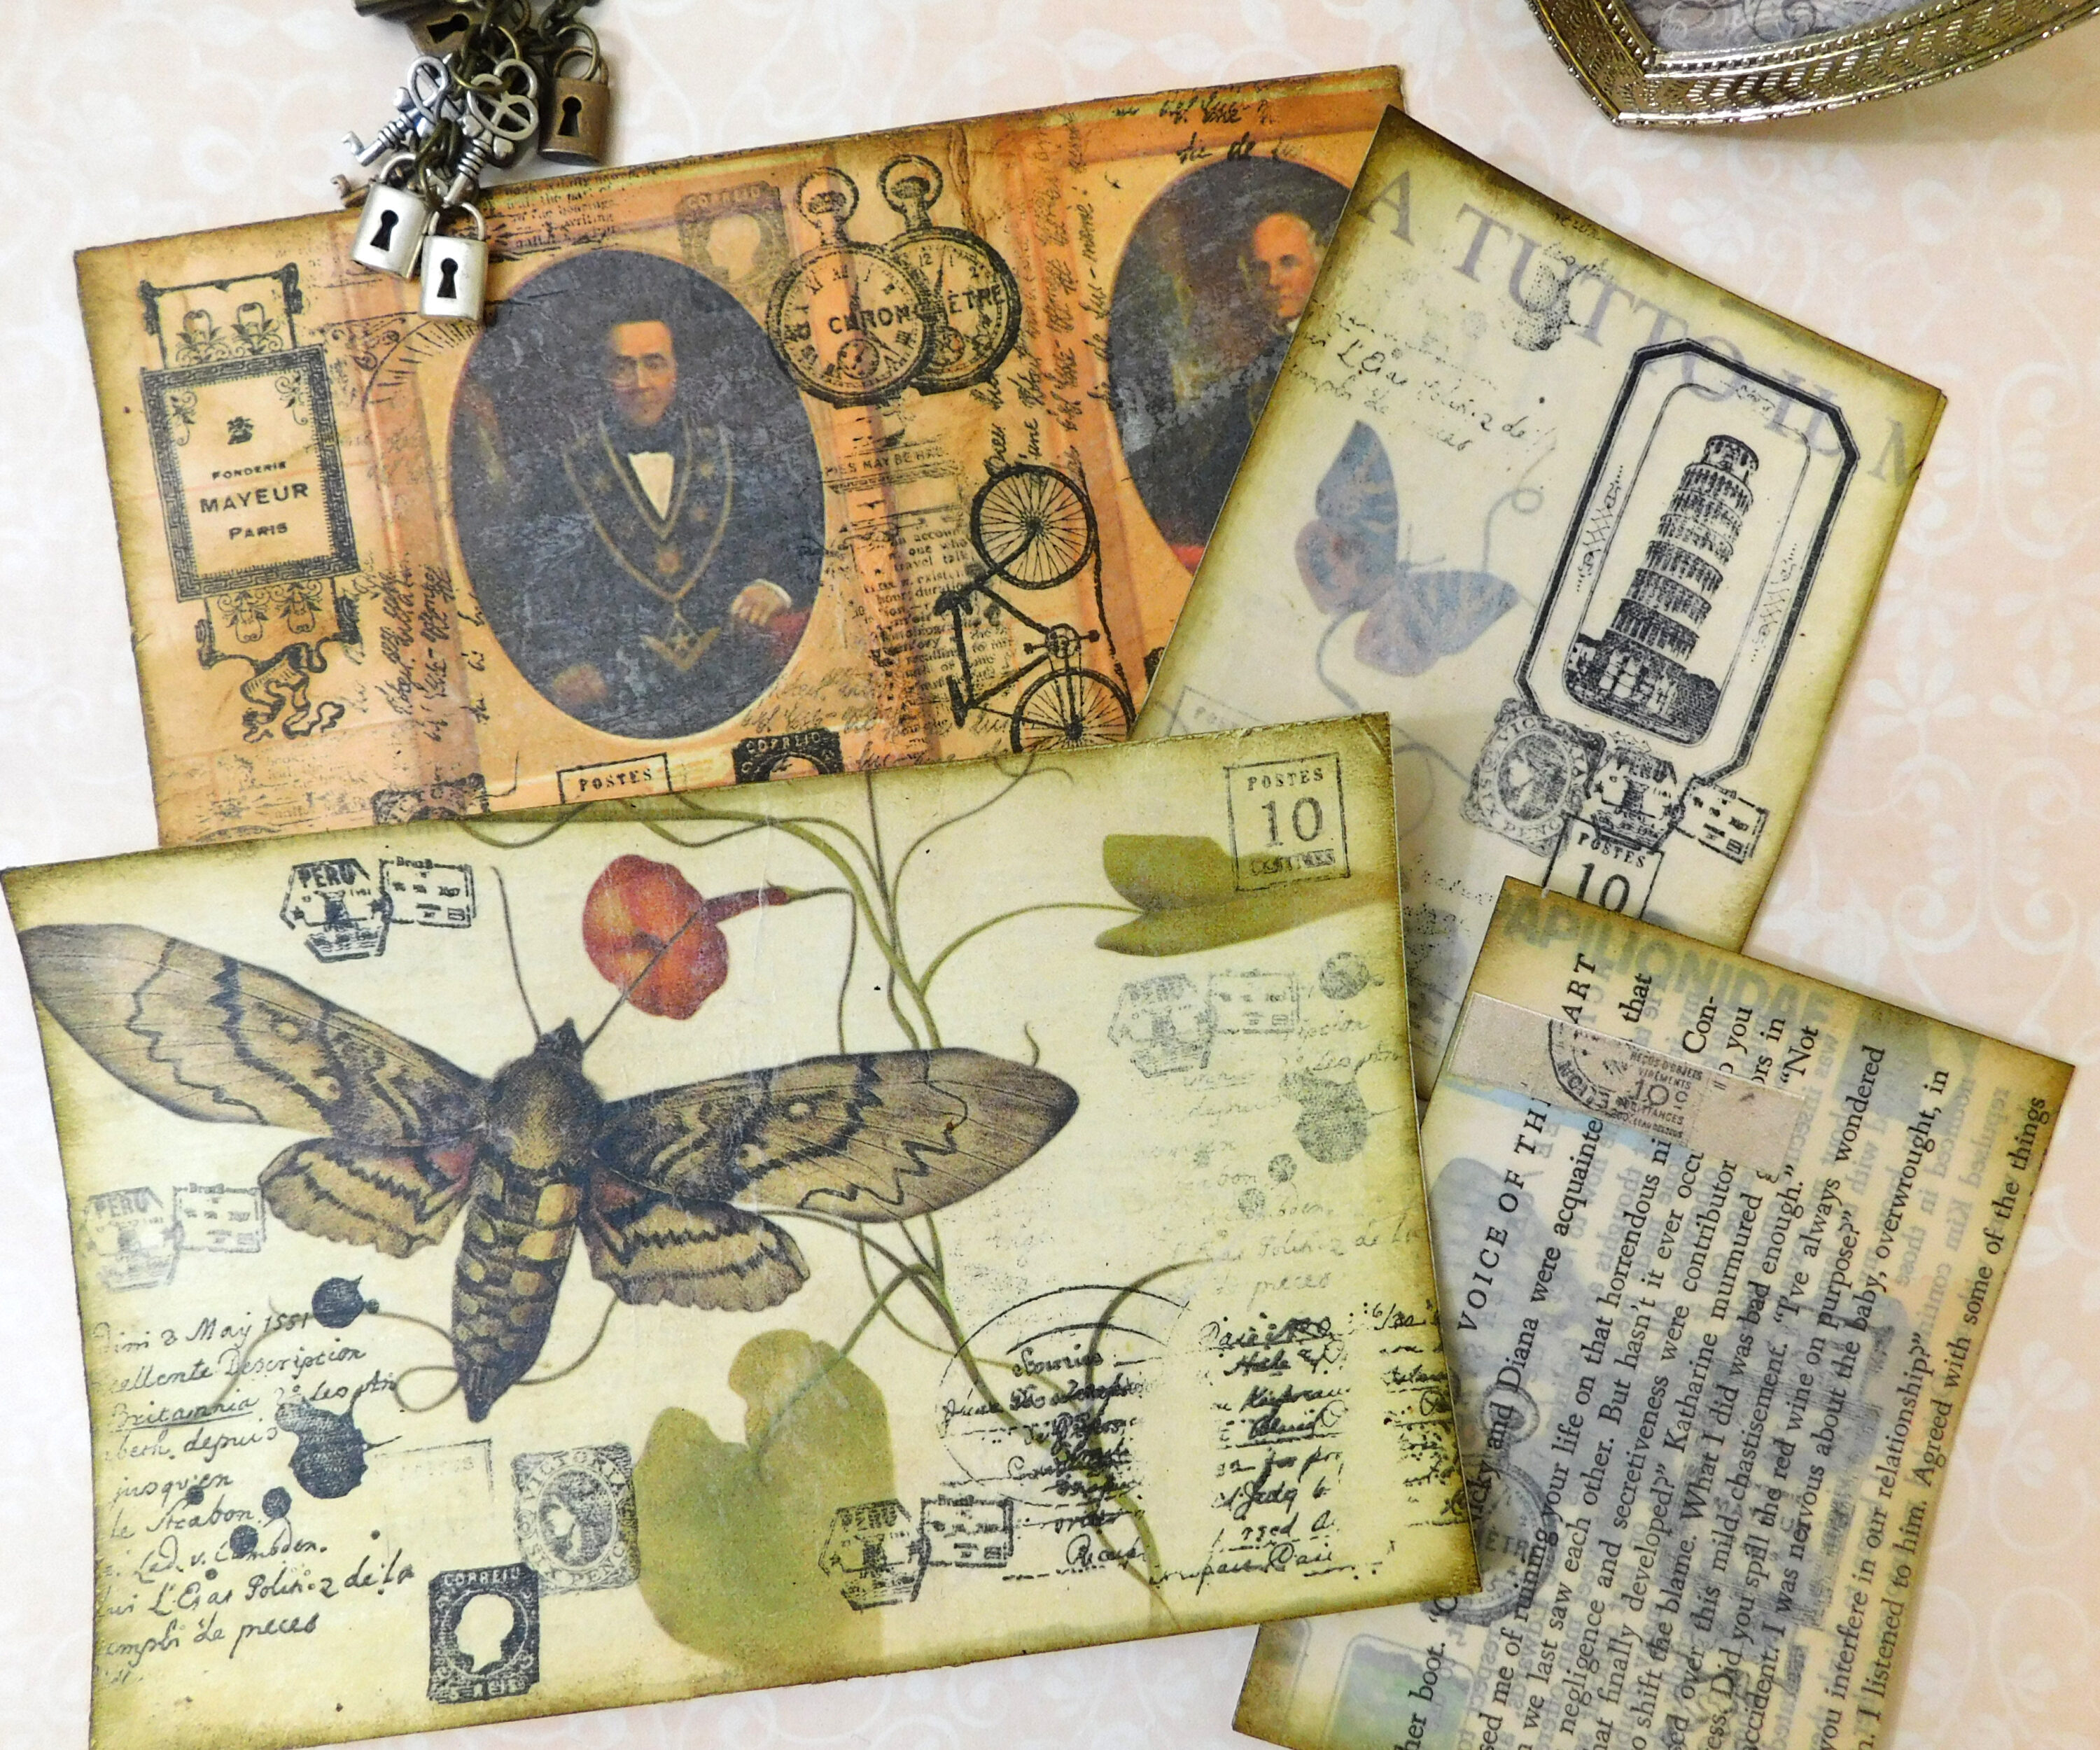
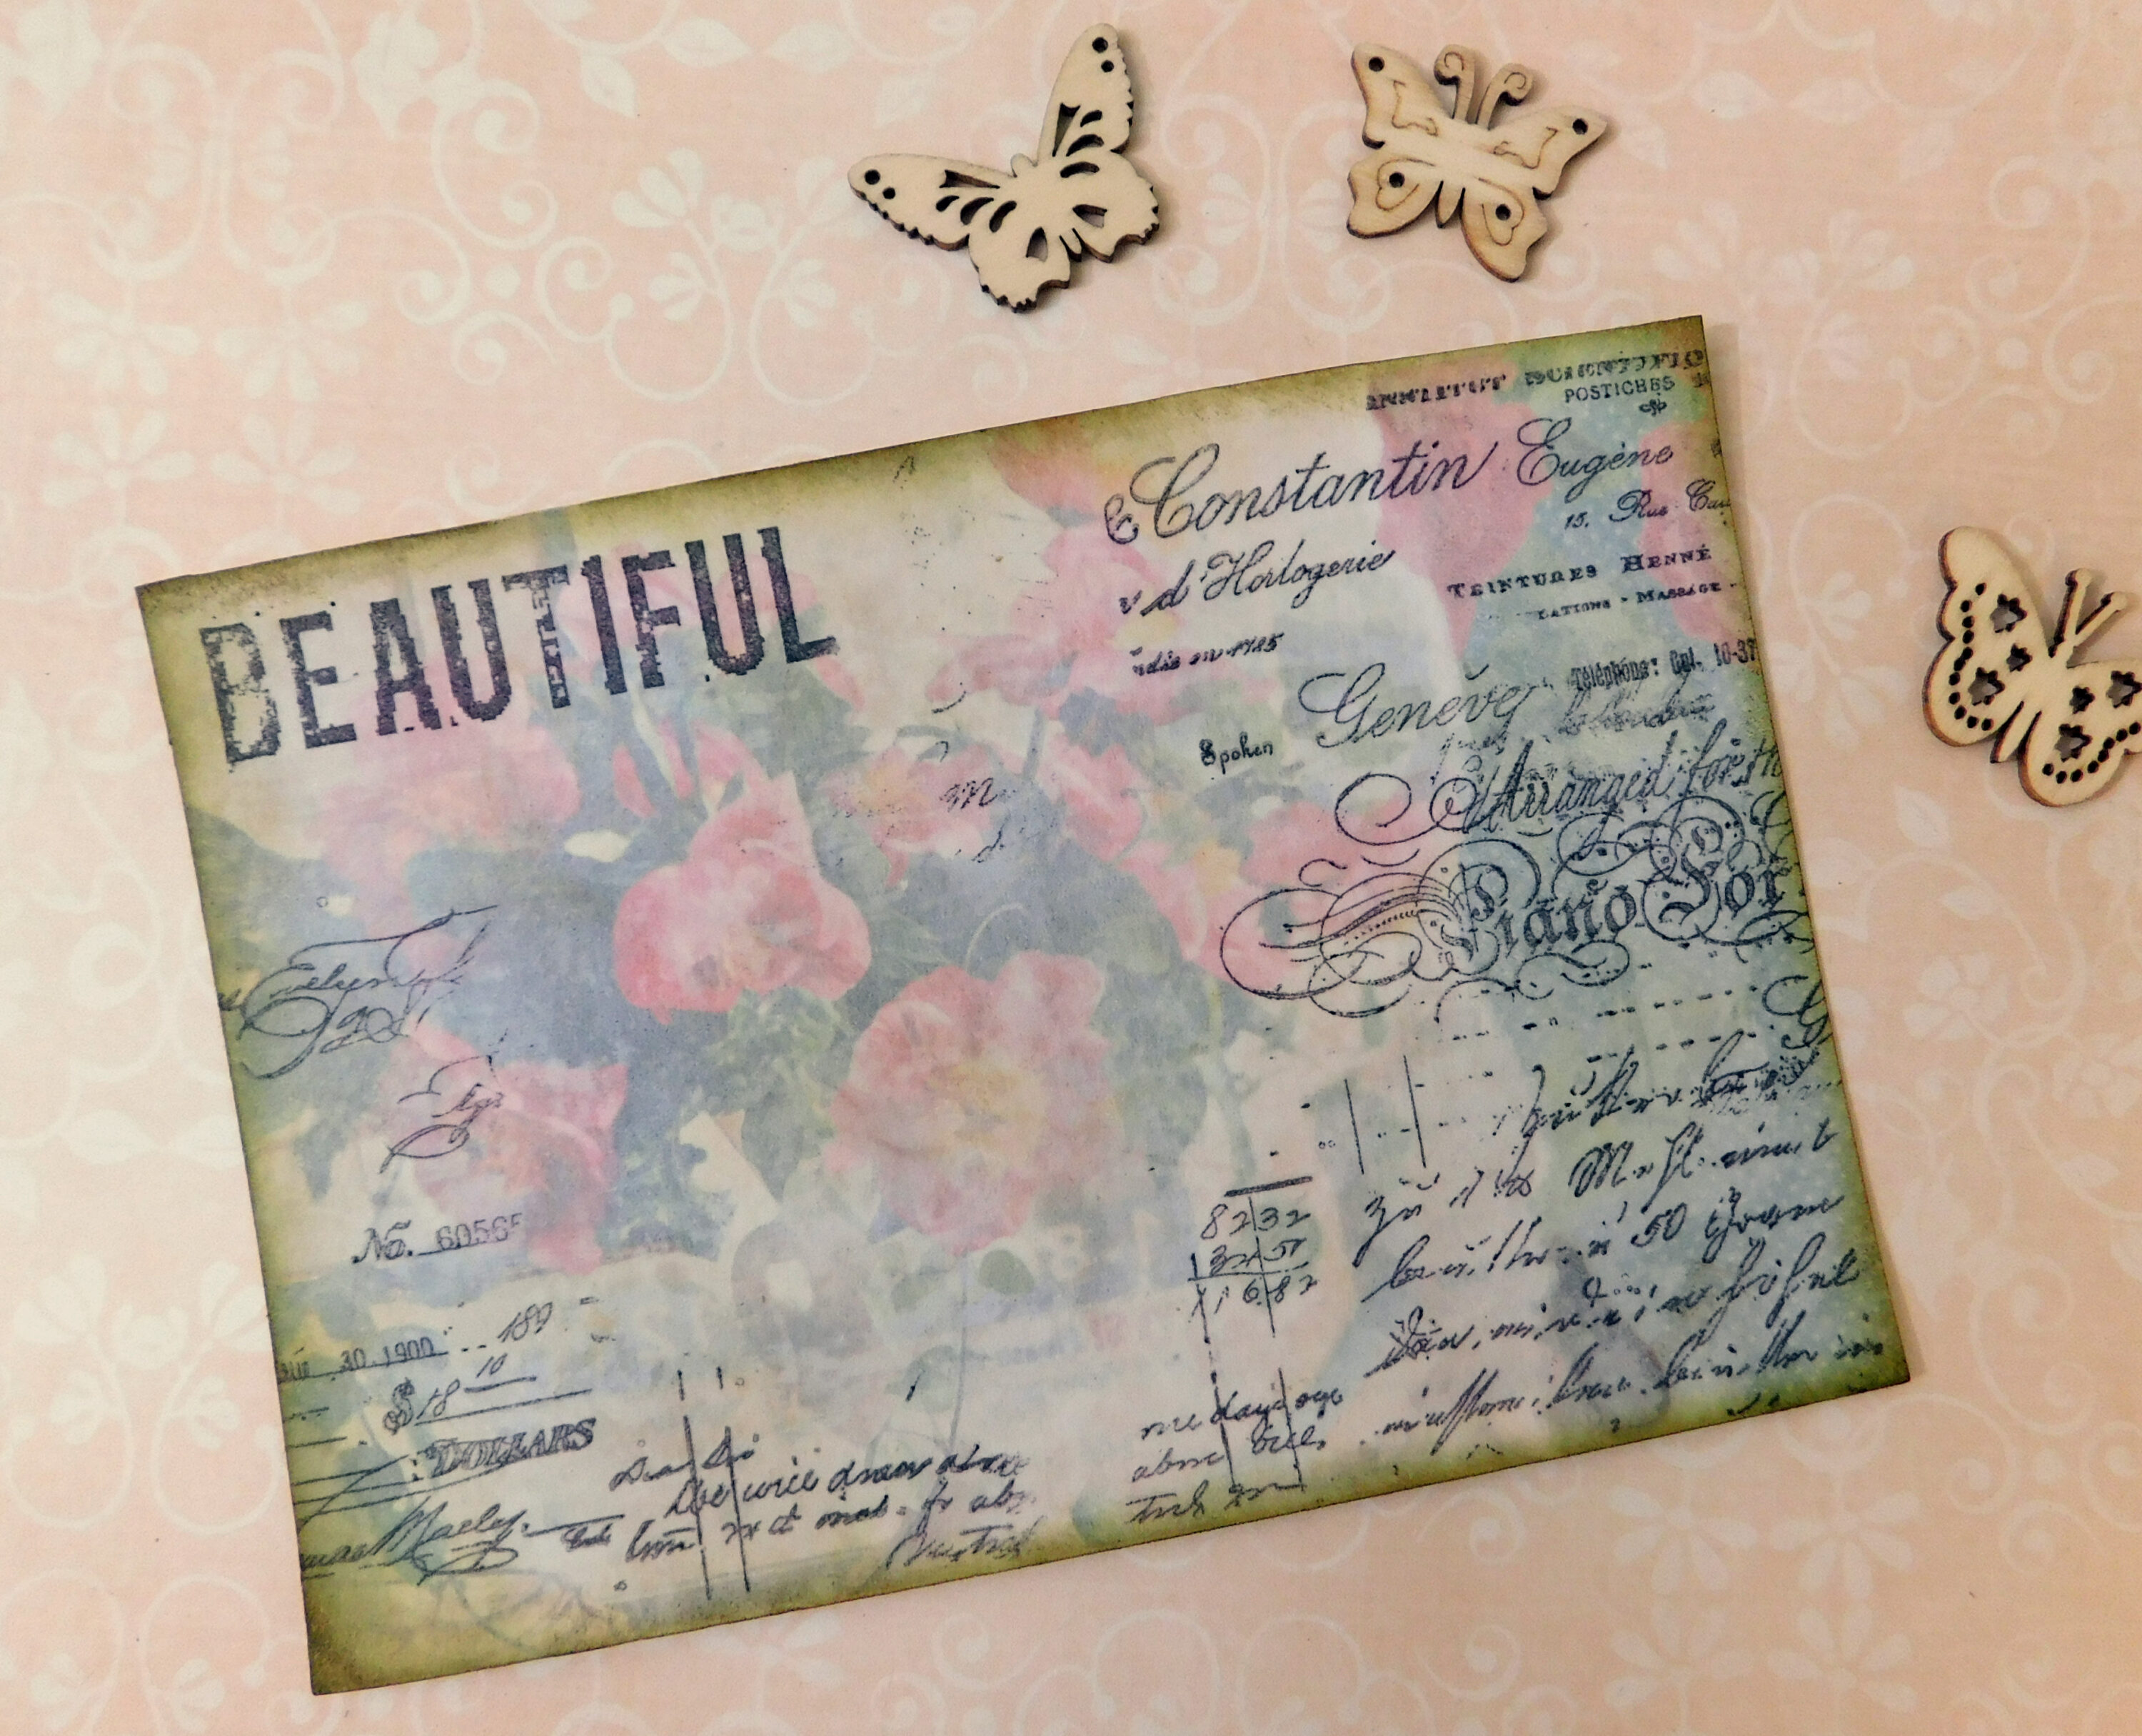
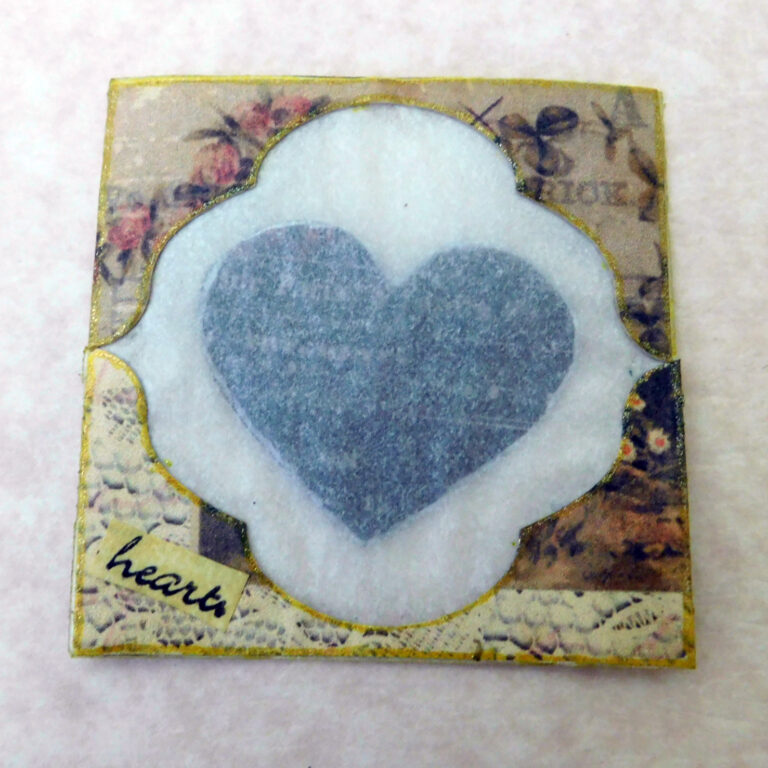
Vintage/Age Any Image
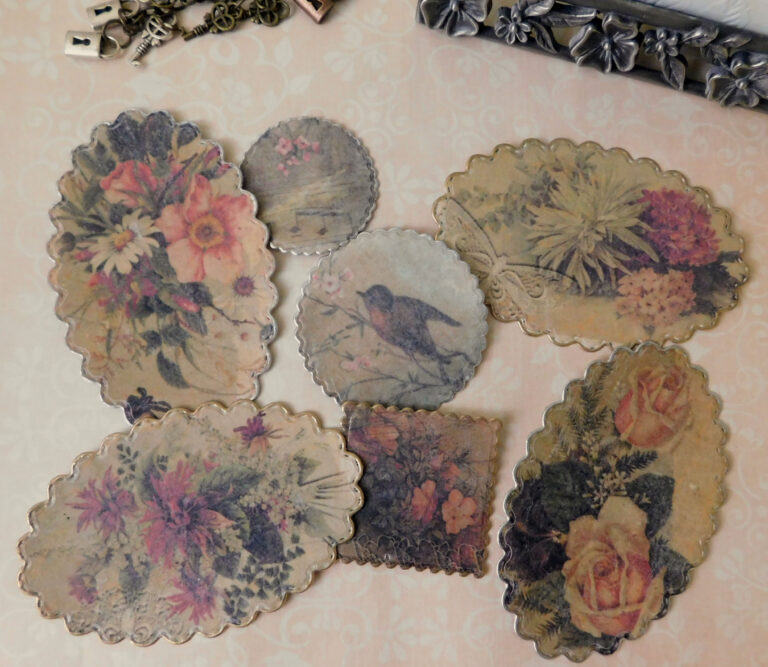
Do you wish you had a way to vintage glossy or modern images? Thanks to this technique you can. Fabulous idea for vintage/aging any image using paper of your choice and wax vellum. A new technique I found that greatly expands image choices for use in junk journals or other paper craft projects.
Paper and Wax
What you’ll need:
Image of your choice
Wax candle
Parchment for protecting your iron
Paper of your choice – tissue, cash machine tape roll, napkin?, toilet paper?, light weight copy paper. (I tried most).
Ink for stamping and aging (make sure it is permanent ink)
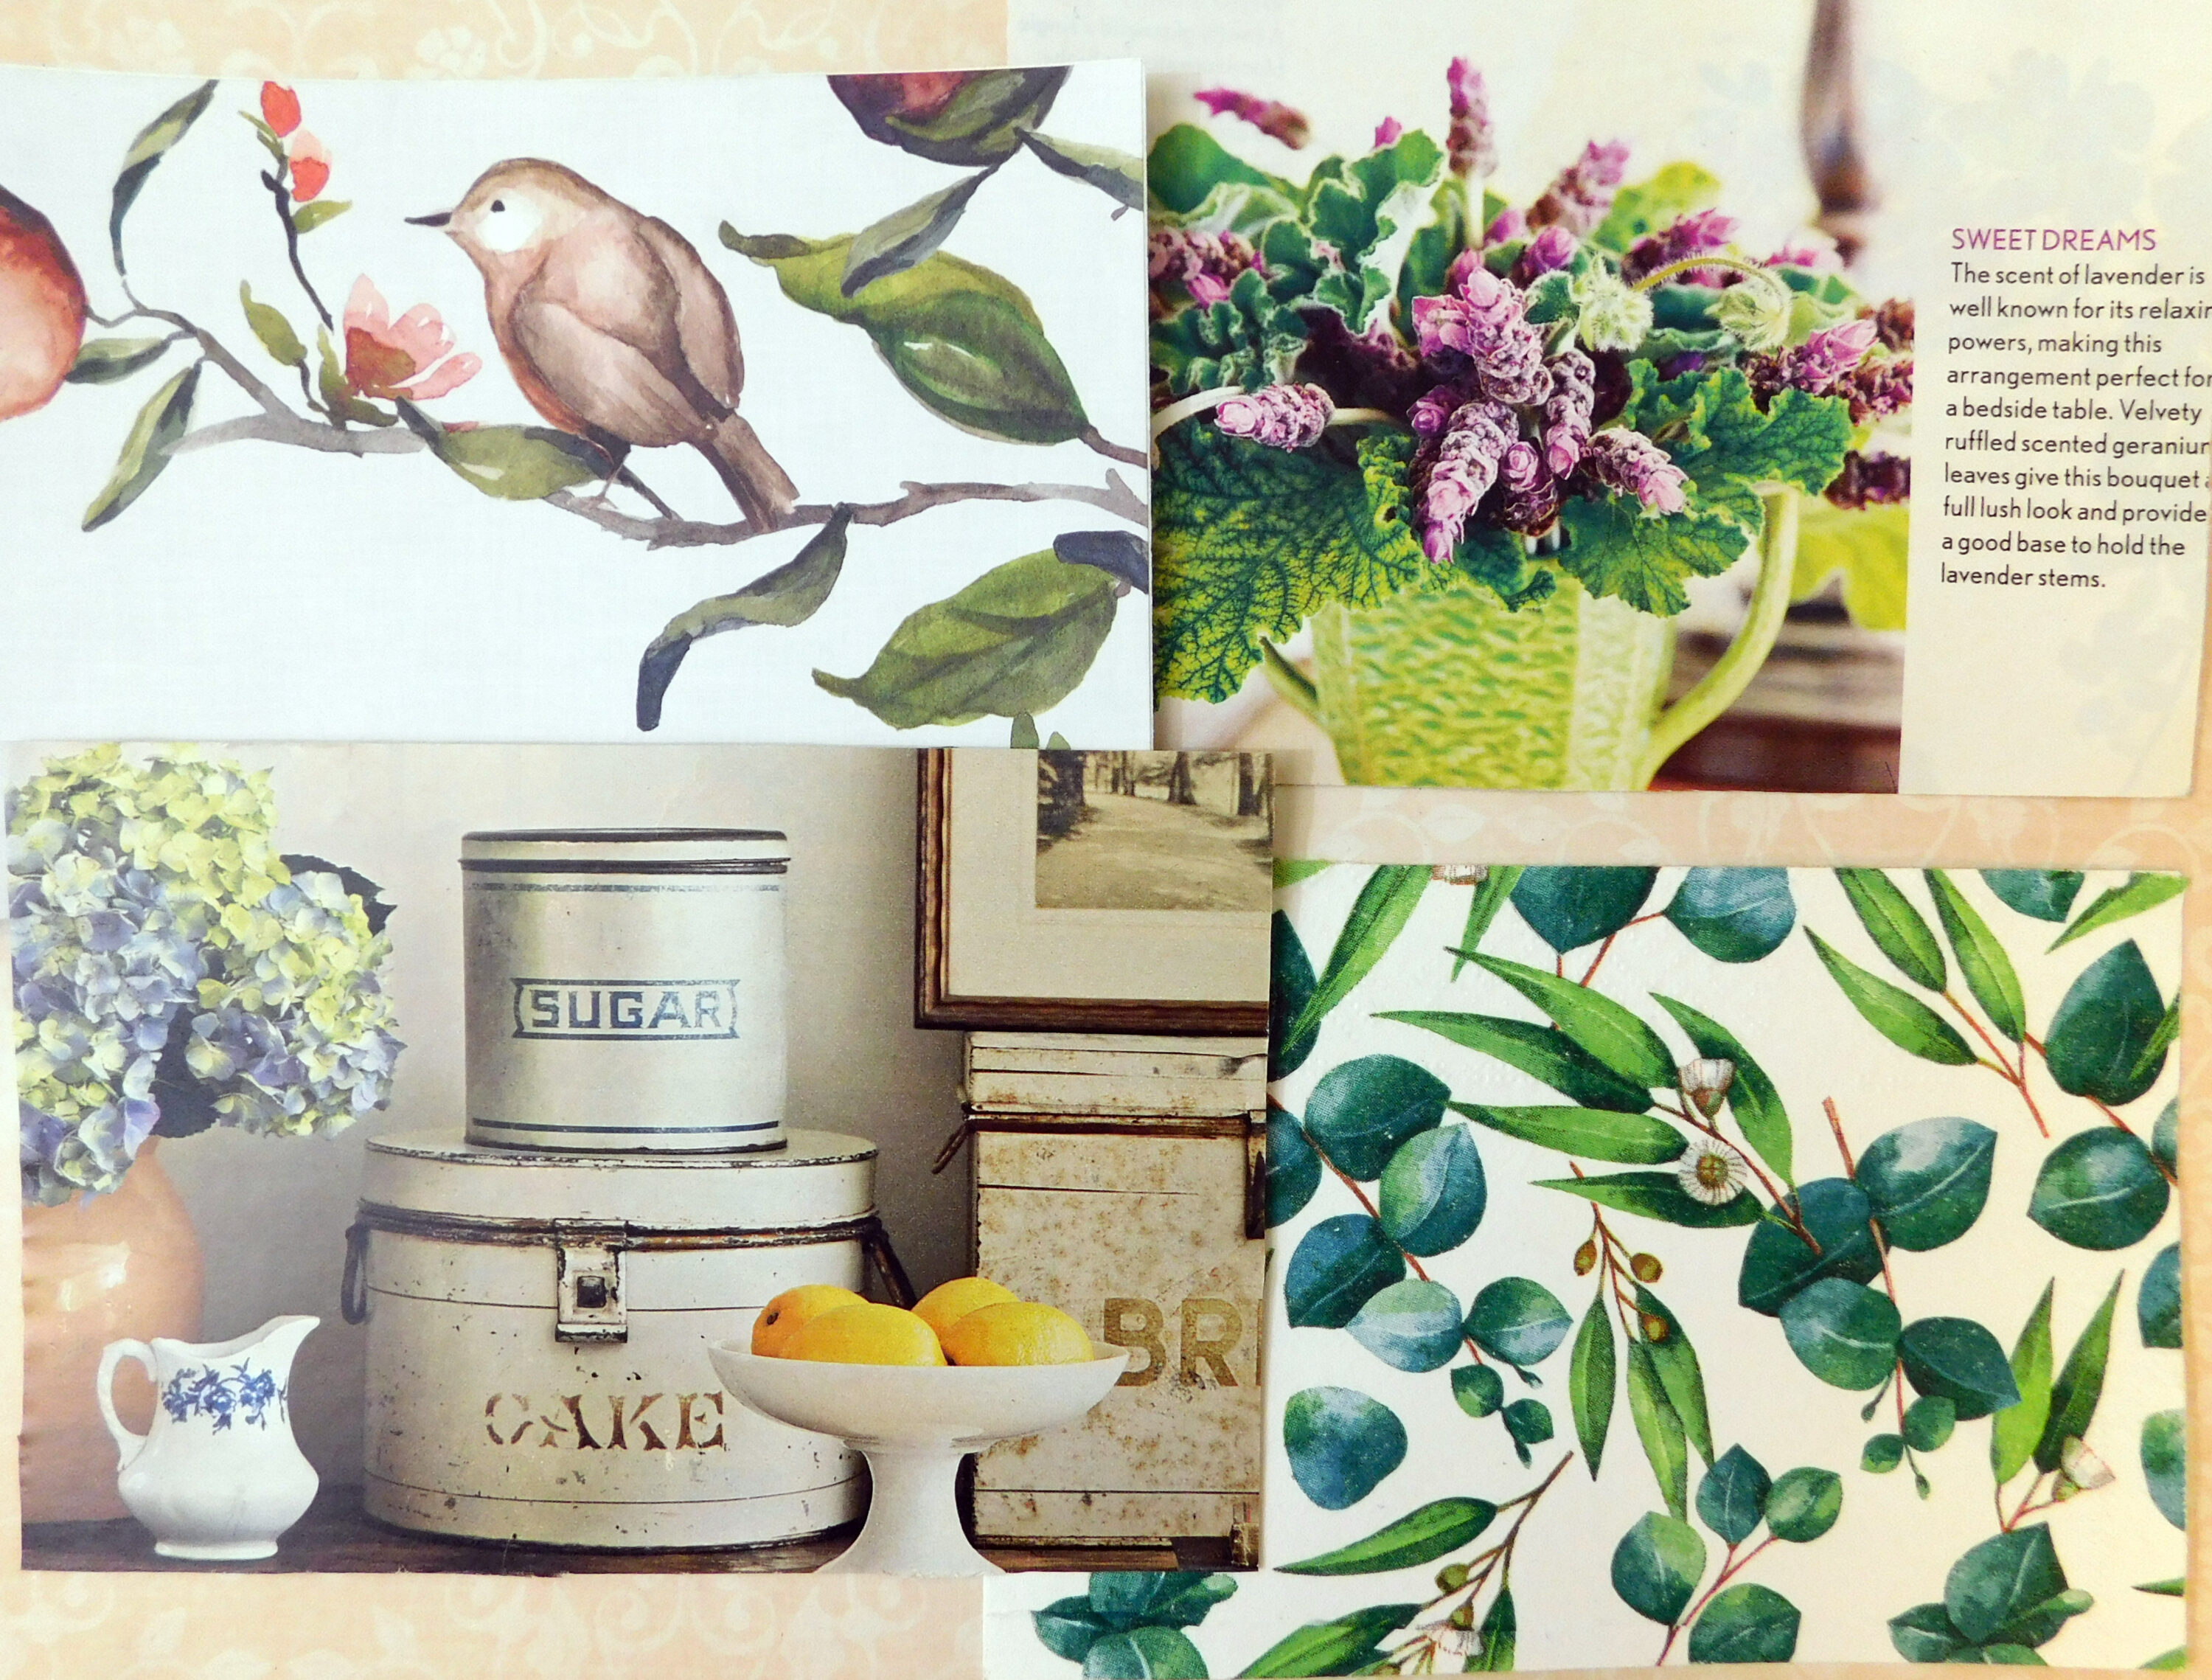
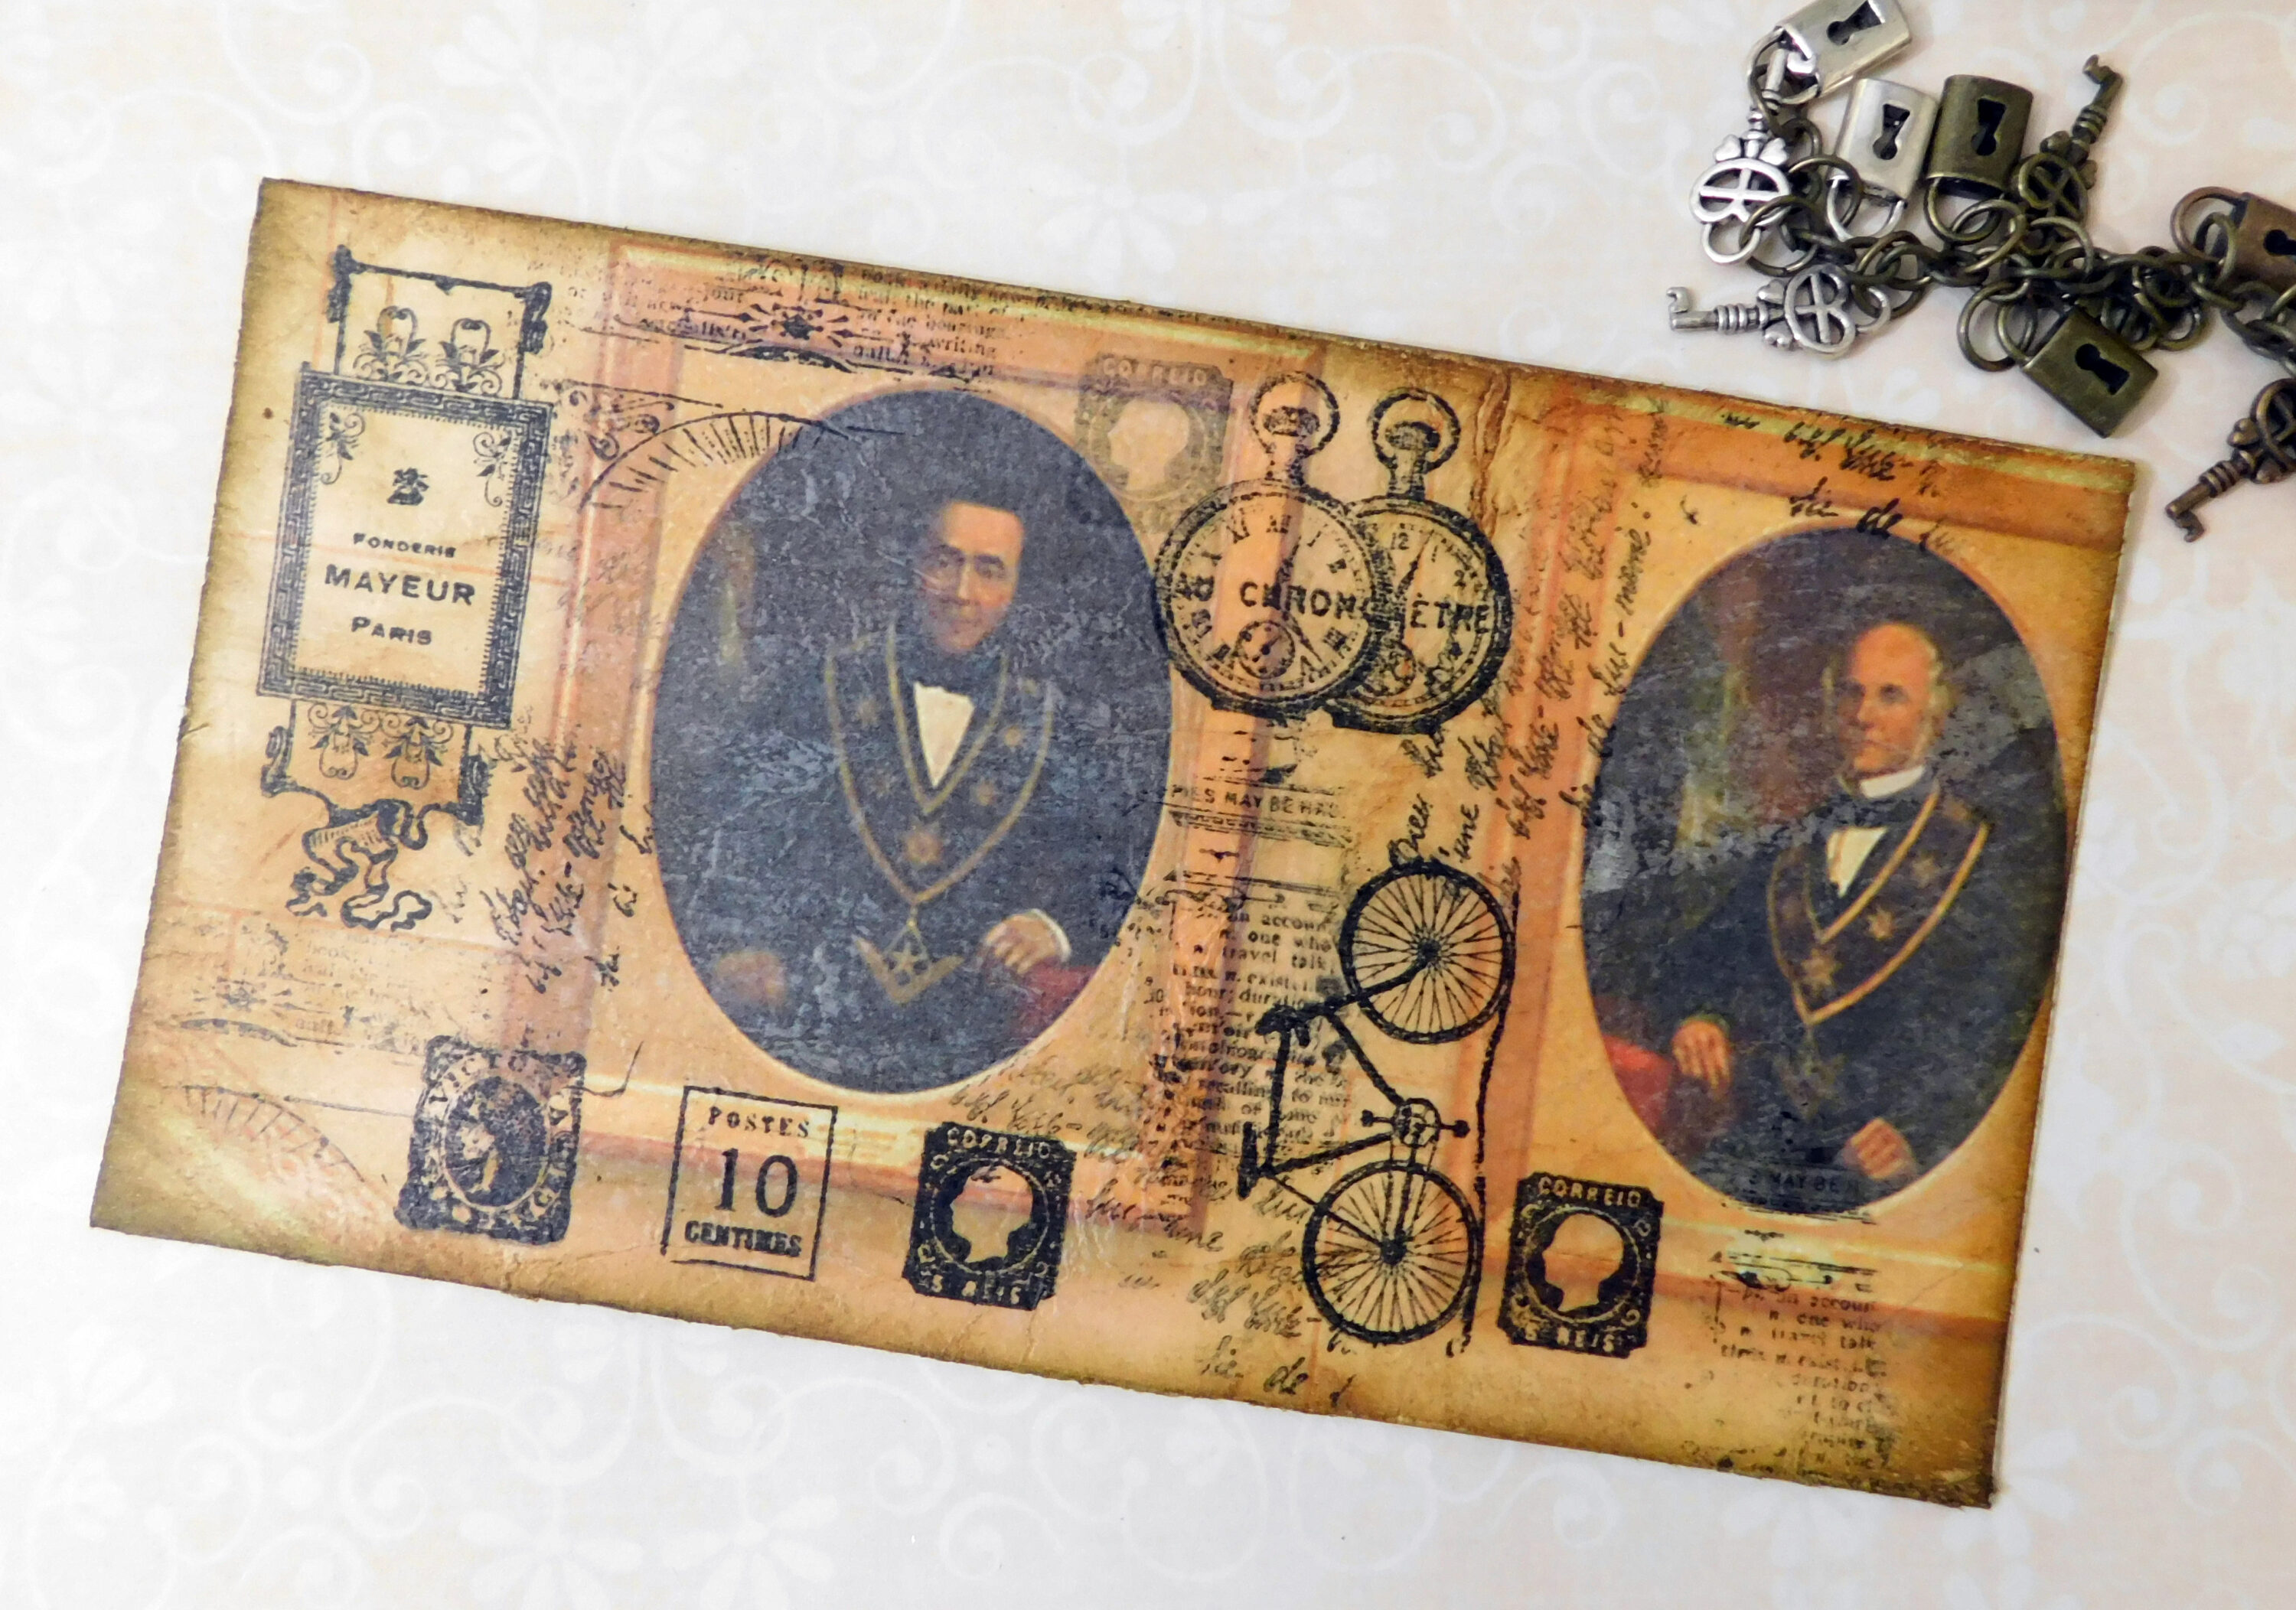
Images before using paper and wax.
Special thanks to Sandra for sharing this technique (inspiration link below).