You can win! 1000 YouTube subscriber celebration giveaway!
This week’s video post features my first giveaway in celebration of reaching 1000 subscribers on YouTube. Watch the video and enter as the contest is time sensitive and there will only be one winner. More contests with each milestone.
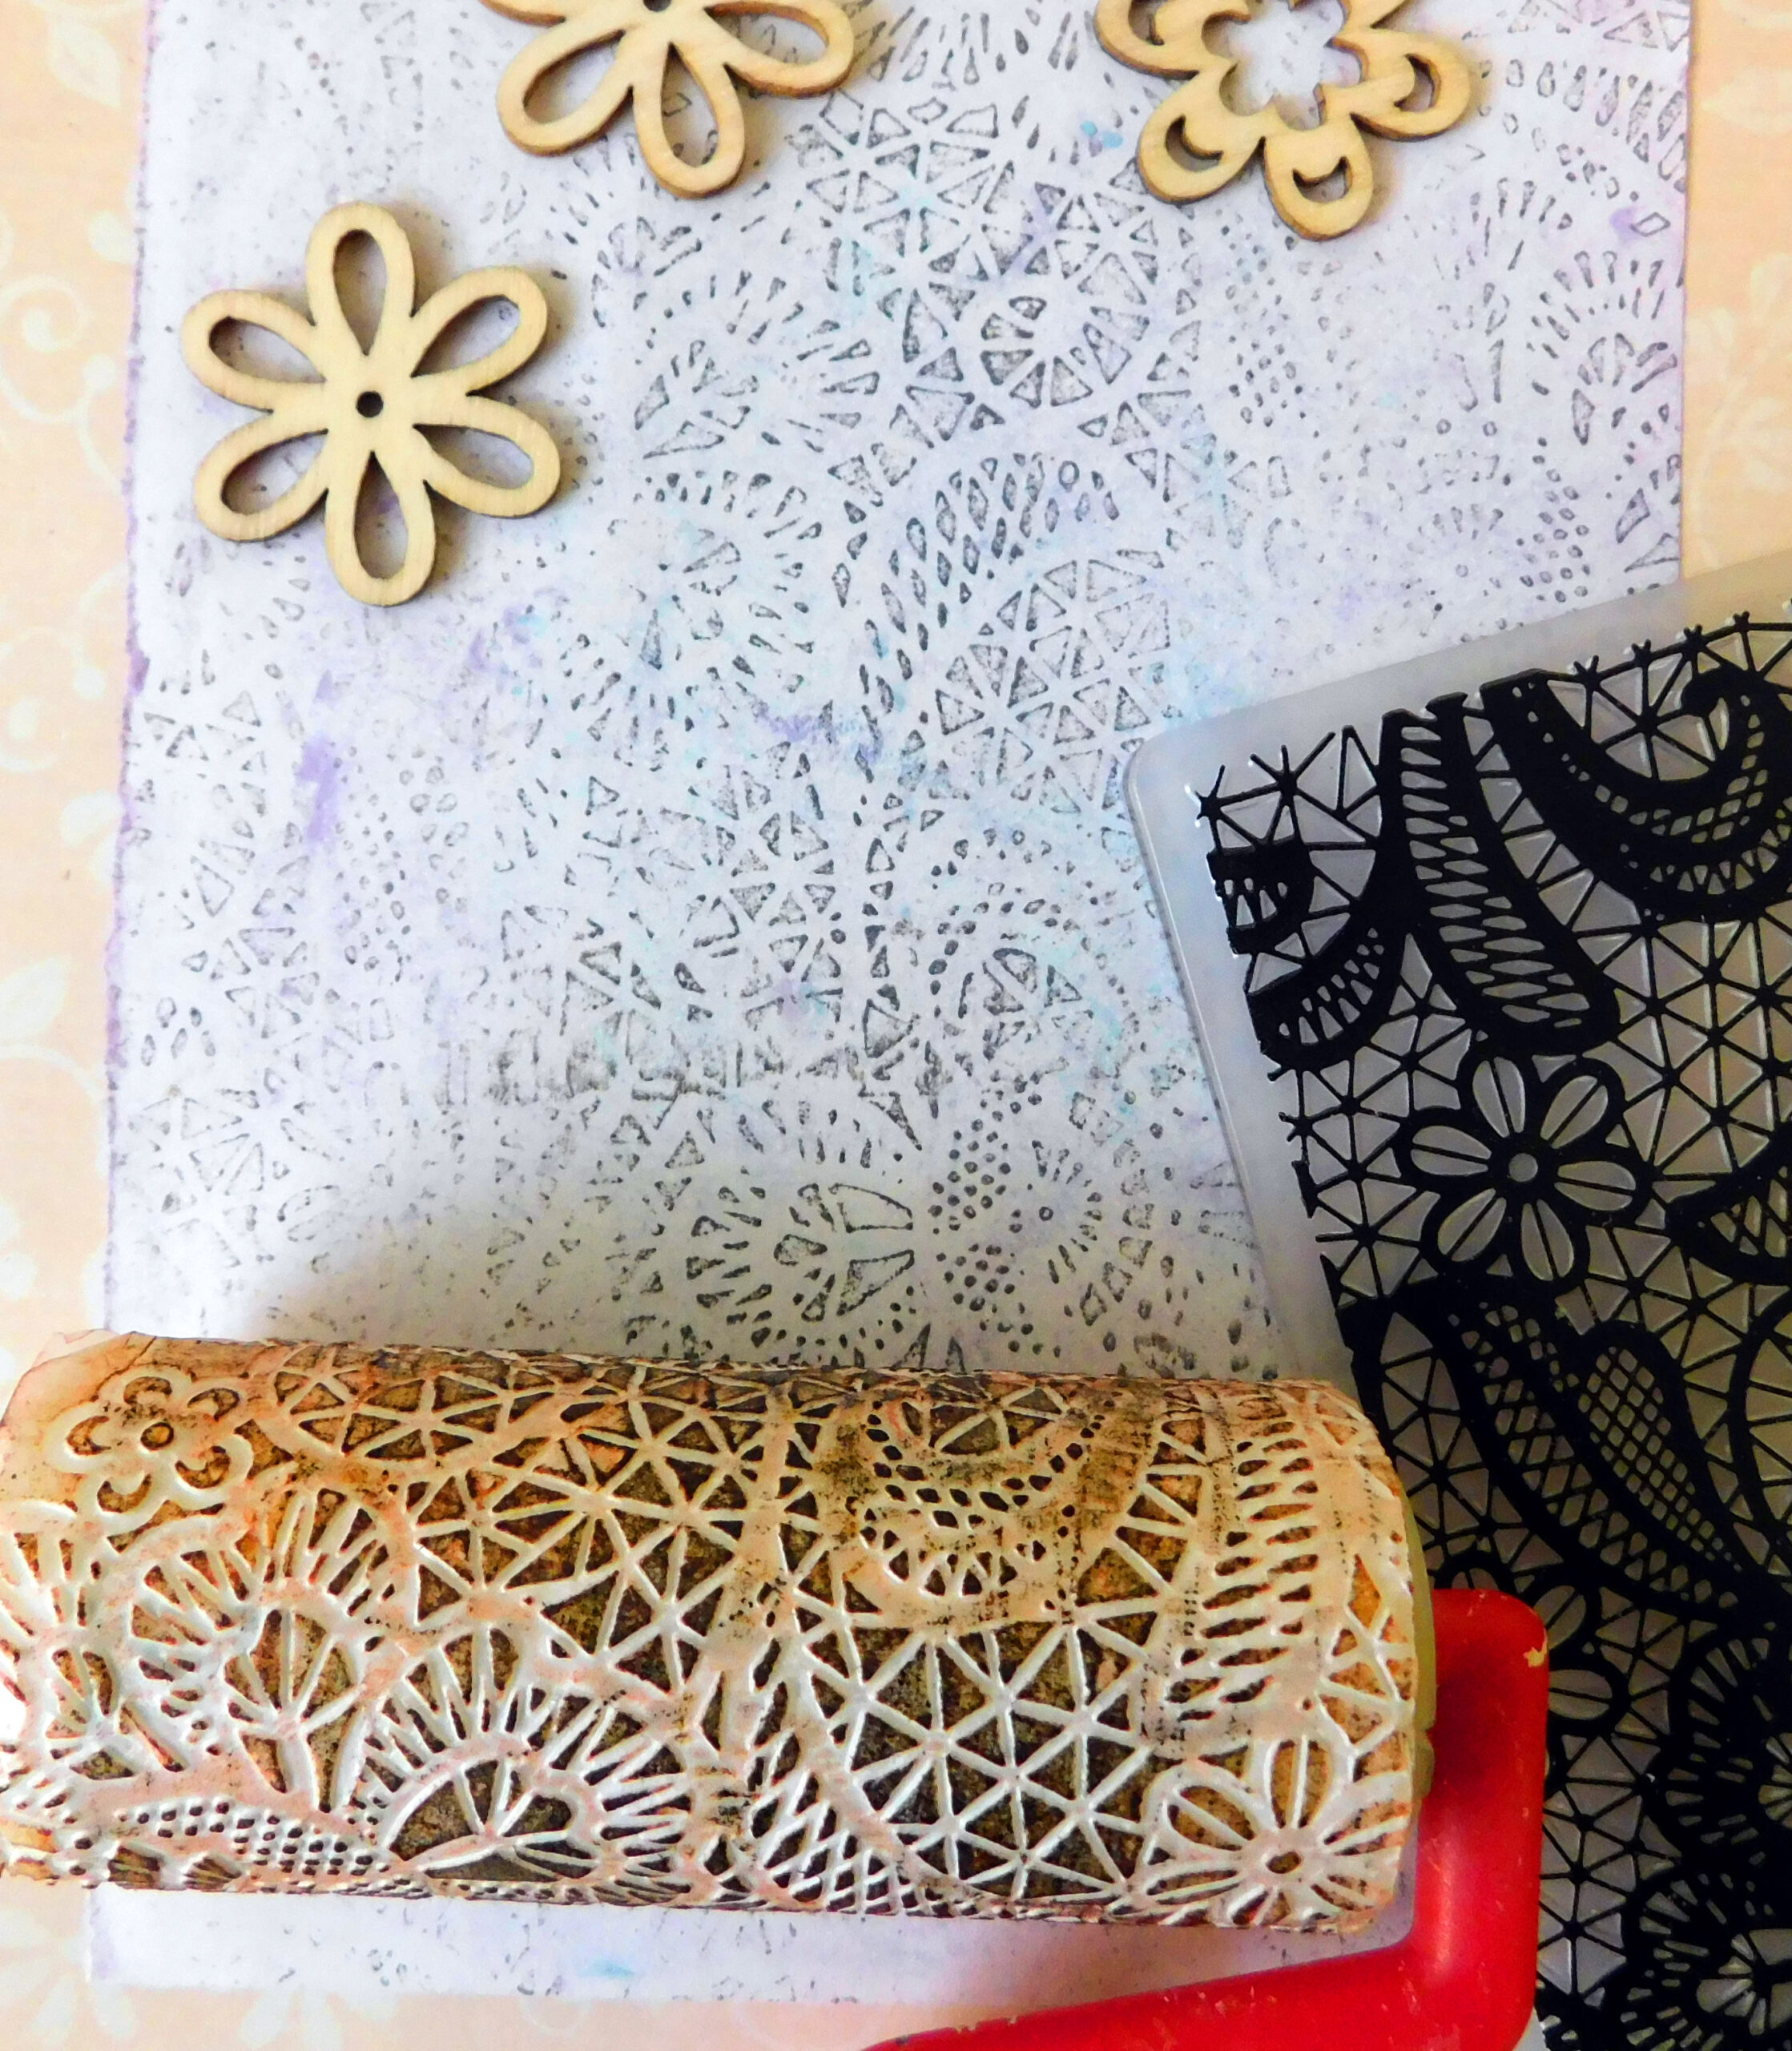
Tips:
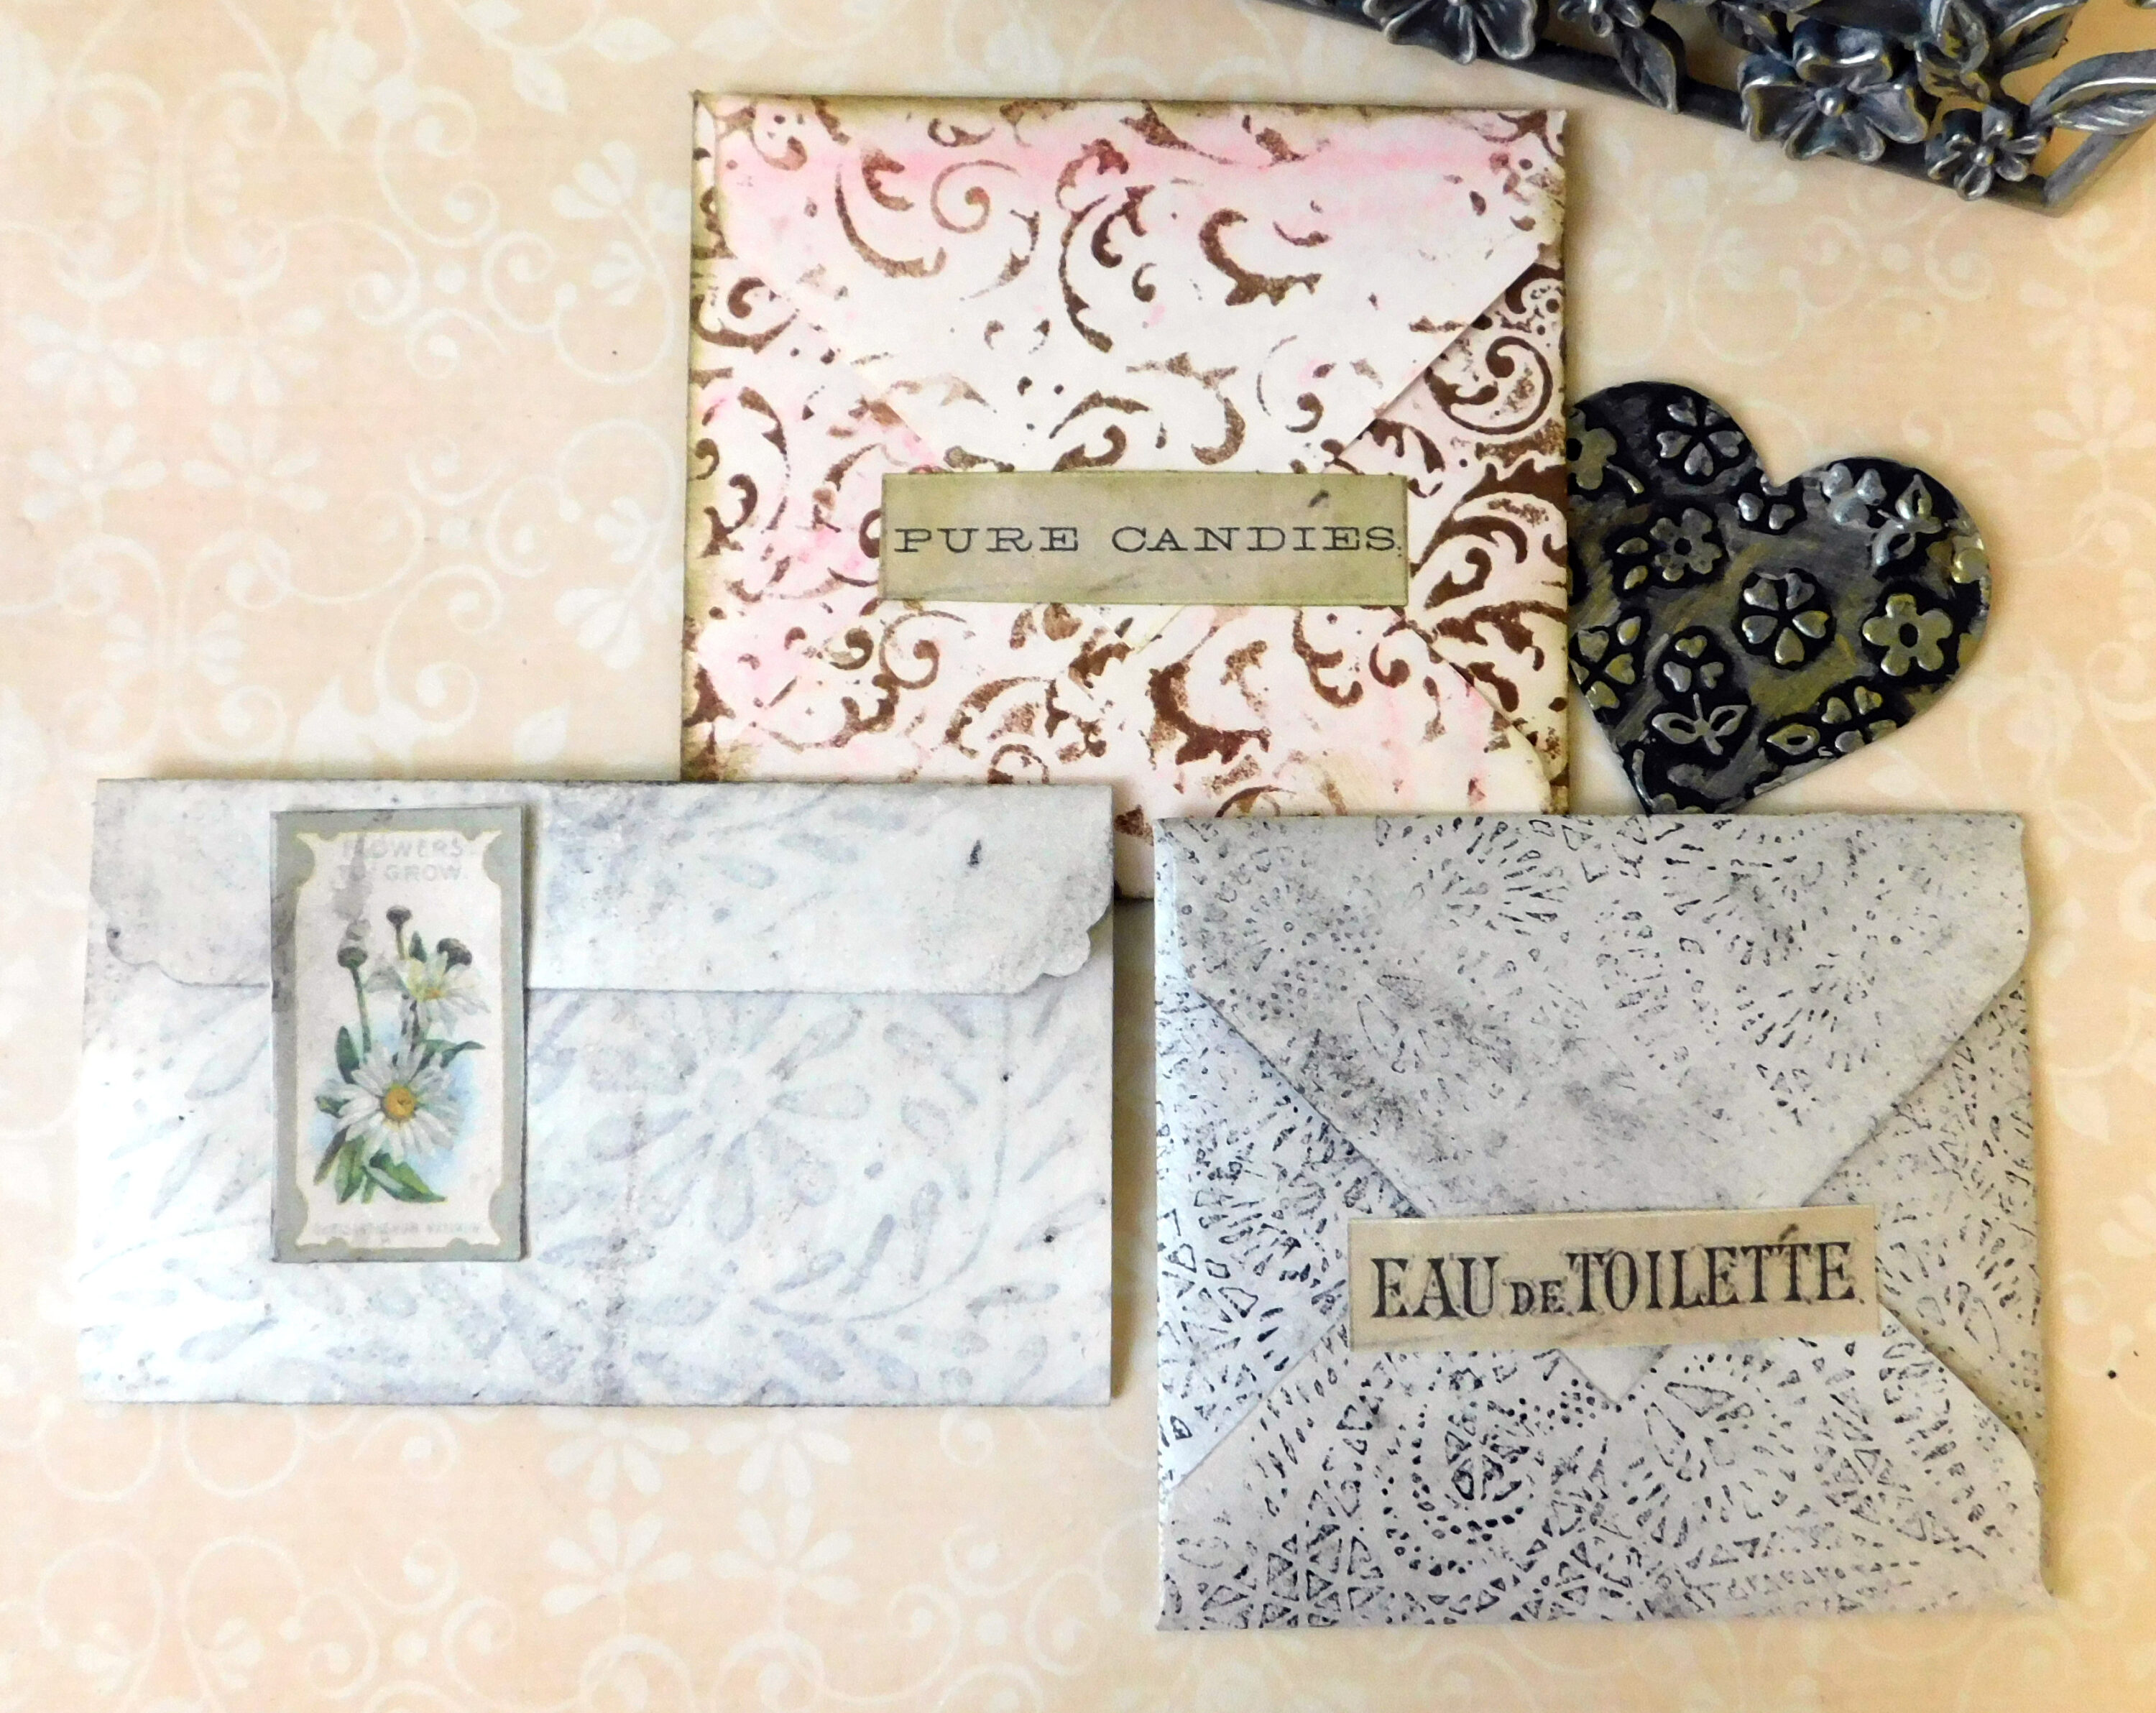
I know it is difficult to see the tint from the pastels and ink. This is due to my lights washing out color and I didn’t want to use black. The paper will be lightly tinted from the pastels and pastel will adhere to the tooth of the paper. You can also use more layers of wax paper to make a deeper and firmer impression when making a wax paper roller. The wax paper rollers will last longer than if making rollers with foam dependent upon how much pressure is applied although that can be done too. The kraft foam works best for general stamping and don’t forget you can die cut kraft foam to make stamps too.
No mess techniques
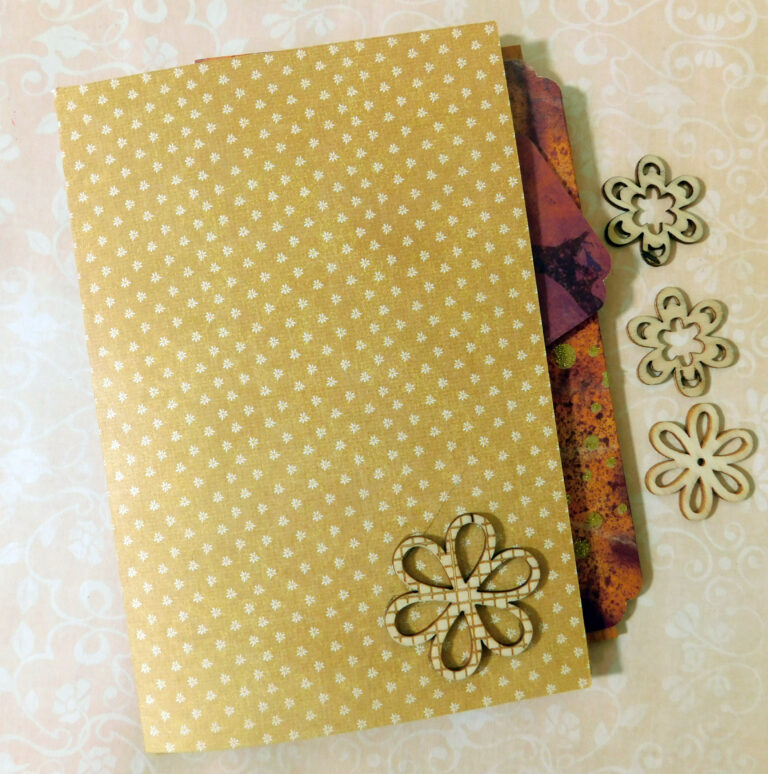
There are many ways to use common materials to make tools to create your own dry mixed media in a hurry. These are great for digital back side printing as well as for adding little spots of mixed media to a page without the mess. By using wax paper, kraft foam, crayons or pastels you can easily create dry mixed media effects to apply to your paper projects.
common items
What you’ll need:
Paper
Wax paper
Kraft foam
Embossing folder
Crayons
Pastels
Ink
Glue
Brayer or small paint roller
Soft cloth
Happy paper crafting!